A deal can be created in two ways: manually by you; or automatically, following completion of the enquiry form on our website by the prospect.
There are 5 deal stages to move through:
- Discussion (also now known as Lead Cold, Lead Medium, Lead Hot)
- Business Proposal Received
- Submitted to Regional Group
- Submitted to Heads of Department
- SLT Approved - Contracting
- Contracted
- Not Progressing
Creating a Deal
To enter a deal manually:
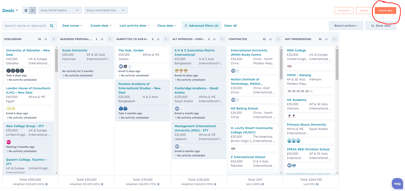
- Click Sales>Deals>Create Deal
- Name your deal using the prospective study centres name e.g. Test Centre
- Select the ‘Study Centre Sales Pipeline’
- Assign the Deal to yourself
- Select your proposed start year – this should be the year you expect the centre to start running the NCUK, it can be changed at any point.
- Choose an expected ‘close date’ – This is a date you would like or expect to sign contracts by.
- Associate at least your main contact with the deal – you can ‘add existing’ if they are already in the system, otherwise ‘add new’ contact. Fill in the correct properties for your contact.
- Associate any companies with the deal – the Primary company should be the Study Centre itself so please use the Study Centres name (you can change it later). You can also use the legal company such as a parent company but make sure that this a secondary company rather than the primary.
You should always create one deal per study centre as they will have different information and fees for each centre. We can always combine into one contract manually at the contracting stage if you wish.
Discussion (also now known as Lead Cold, Lead Medium, Lead Hot
During the discussion stage with prospect, you will start negotiations, collect documentation, and can begin to fill in the various fields. You should use quotes to send key information about fees to the customer.
Adding Line Items
When you have an idea of the qualifications the centre is interested in and the fees you would like to charge, you will need to add line items. This serves three purposes:
- To calculate the monetary revenue ‘amount’ of your deal for the first year of business
- To enable you to create a quote for your customer when ready.
- To automatically populate the contract with the fees for 5 years in contractbooks at the contracting stage.
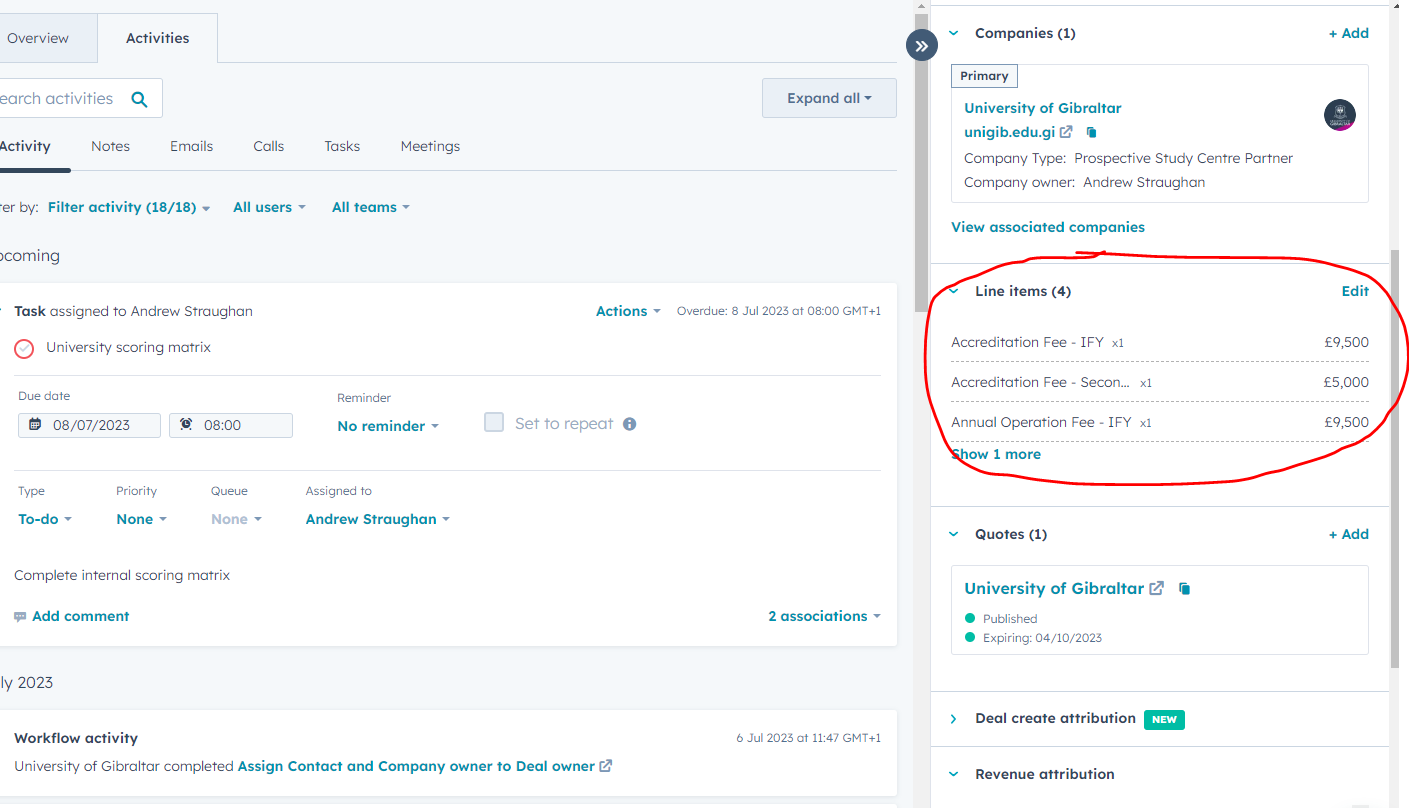
- On the right hand side of your deal click Add Line Items > Select from Product Library
- Choose all your fees from the folders > click Add (you need a separate line item for each type of fee)
- Change your Unit Price to reflect the amount you wish to charge the customer in Year 1
- Change your Quantity of the exam and registration fee to reflect the amount of students you wish to display on your deals – this should be the minimum number for year 1.
- Note that the remaining columns are information for contract purposes – change the prepopulated fees to reflect figures you would like in the contract - scroll to the right. Important! Only change the figures in the pre-populated columns. Do not add any figures where it is blank and Do not change the pre-populated drop-down names.
- Save and click update deal amount.
Creating a Quote
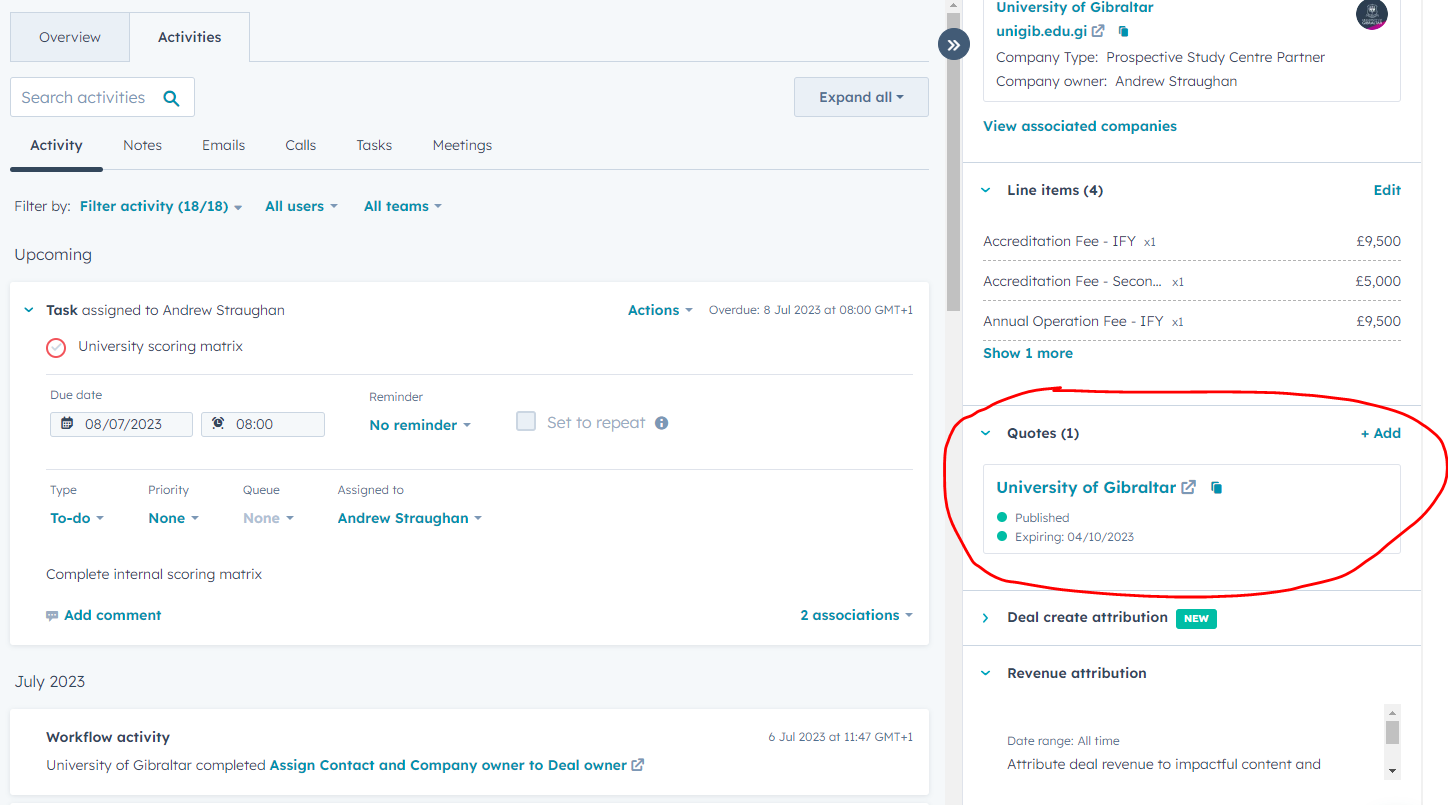
- Go to Quotes and select ‘Add’
- Choose Quote Template ‘Study Centre Quote -ROW’ or ‘Study Centre Quote China’
- Complete the required fields
- Add comments to buyer. This will appear next to your fees – the suggested snippet is #tuitionfees #minimumnumbers
- Add Purchase terms. This will appear below your fees – the suggested snippet is #rebate
- Amend your line items if necessary
- Publish Quote – Once published, the quote is visible on the right-hand side of your deal under ‘quotes’ and can be shared at any time. It does not go directly to the prospect until you email them.
- Write an email with the quote and suggest a meeting for your customer. Remind customer that the business proposal is linked in the next steps section of the quote.
Creating a Document Storage area in MS Teams
All documents relating to the customer should be stored on MS Teams
Adding Notes
You can add notes to your deal through the notes tab and ‘Create Note’ button.
Business Proposal Received
Once you have received a Business Proposal and added it to the centre proposals section of SharePoint along with the completed financial profitability you can move the deal to this stage.
- Enter the link to the Business Proposal that is stored on SharePoint
- Add the date that the NCUK Qualification is to be introduced (this can be changed later)
- Add your Live Forecast numbers for the intended programmes (number format only, this should be updated regularly)
- Introduce your Programme Delivery Manager
A task will be created and sent to Tomas Wood to review the financial Profitability when you move the deal to this stage.
Submitted to Regional Group
To move a deal to this stage you can:
- Provide the Profitability Link for Tom to review
- Provide a link to the Insurance Document or Letter of Notice
Submitted to Heads of Department
Once you've had approval from the regional team you can submit to heads of Department and move it to this stage.
SLT Approved – Contracting
To move a deal to this stage you must complete a series of contracting fields which are needed to automatically populate the contract. These include partner name, address, signatory details, commencement date.
You should also complete the target fields for the contract and the placement percentage fields for the contract
Important!
Check your Line items at this point to make sure the fees you have put in for the 5 years are correct.
You should also re-check the target numbers to make sure they are correct.
If you have multiple deals/centres going on the one contract, it’s important to fill in each of the deals with all of this information but keep the contract information the same, then let Amina know you wish to manually combine them.
Contractbooks
The fields that you populate at this stage will automatically populate the contract.
An email will be sent to Amina to inform her of an incoming contract in contractbooks and the details of the minimum numbers so please still make sure everything is perfect before you move the deal to this stage.
Once a contract has moved into this stage, the contract is created, if you then make manual changes to the contract, it is good practice to change the properties in HubSpot for consistency.
If you need to re create the contract because you made a mistake, move the deal back a stage then move it back to Contracting when you have changed the fields, this will generate another contract and you will need to ask the contracts manager to delete the old one.
Contracted
When a customer has signed the contract, you can move the deal to the contracted stage. An automatic email will go to Jim from finance to inform him that he needs to raise the invoice and will provide him with information about the finance contact and billing name.
The centre will move to the New Centre onboarding view for us to track their onboarding as an NCUK Study Centre including payment, accreditation, inductions, publication and registration.
Not Progressing
At some point you may decide that a deal is not progressing or on hold for a long period of time. When this happens, you should move it to the ‘Not progressing stage’. You will be asked a reason for this. Please also input any notes in the deal in addition to this field to give a better understanding of its status.
If you would like to revive the deal after a period of inactivity you can move it back to the discussion stage if most things remain similar – contacts, companies etc. Otherwise, it may be better to create a new deal.
You can periodically check your on-hold customers and contact them again as well as creating ‘lists’ to mail out to a large group of prospects – marketing can assist you with this.