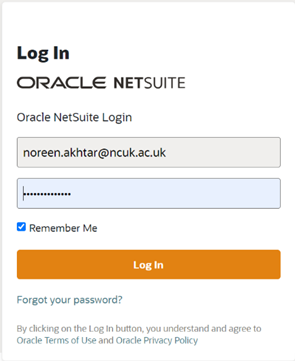
- Log onto Netsuite https://system.netsuite.com/pages/customerlogin.jsp?country=US
- Put in your email address and password
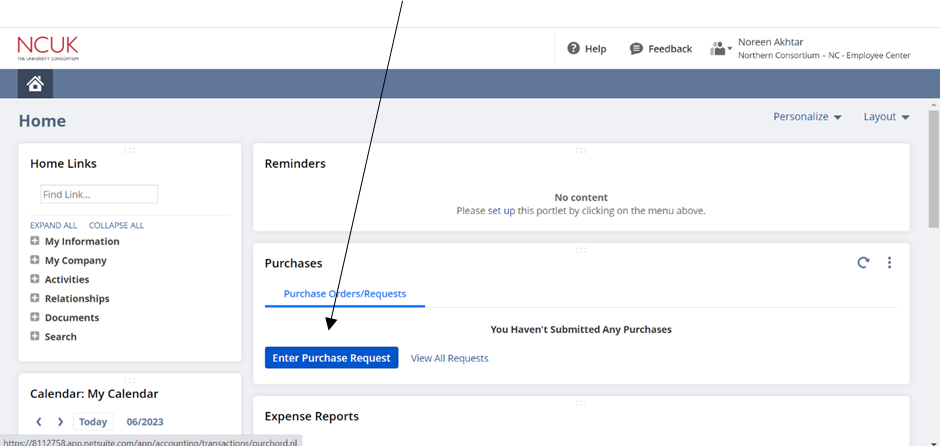
- On the Dashboard, click on ‘Enter Purchase Request’.
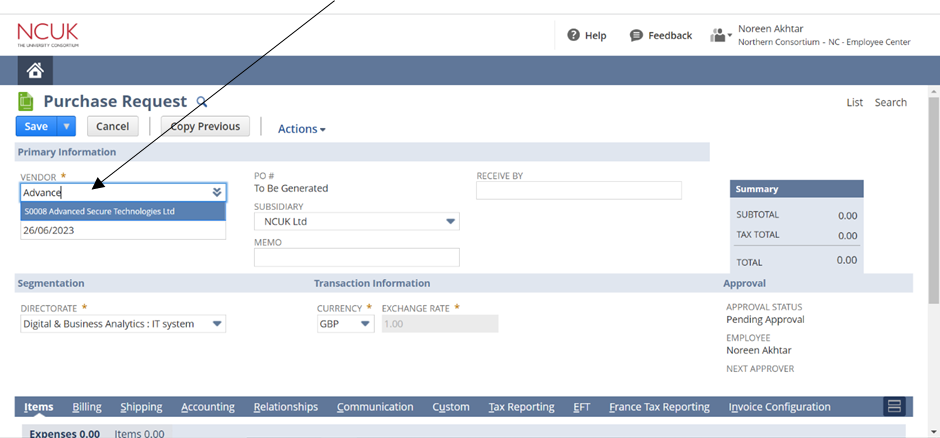
- In the ‘Vendor’ box, start typing the name of the company who sent the invoice. A suggestion will appear, and you can select the relevant company name.
- In the memo box, type in a description of what the invoice is for (can be copied from Invoice), e.g. Setting up laptops.
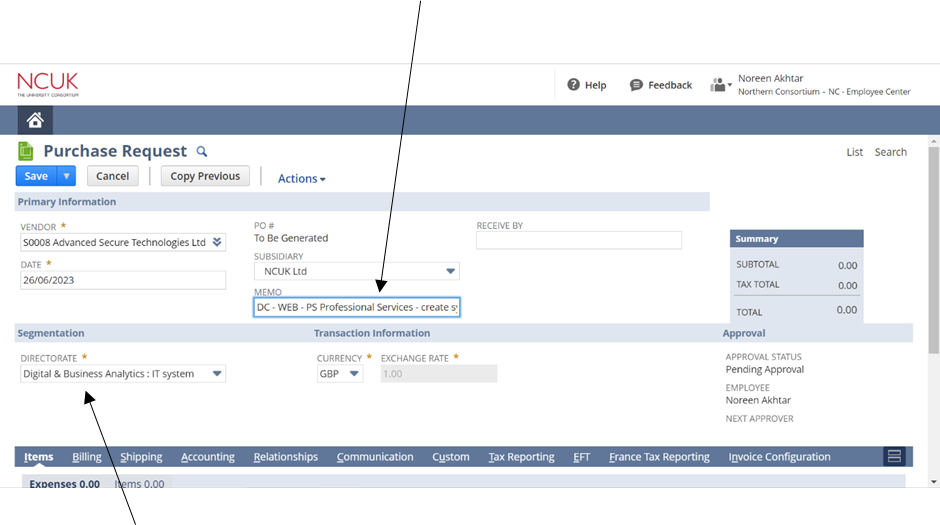
- Select the relevant Directorate – this should automatically be selected based on the Vendor you selected.
- Copy and paste ‘memo’ into the bottom part of the form. Enter ‘Quantity’, ‘Amount’ and select the ‘Category’. (See relevant Invoice for this information)
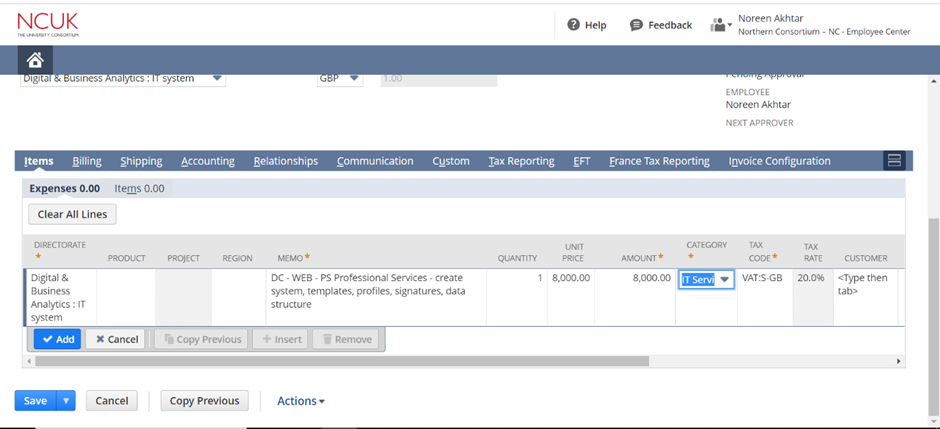
- If you need to add more ‘Memos’, you can copy previous or ad a new field. All the fields must be from the same invoice.
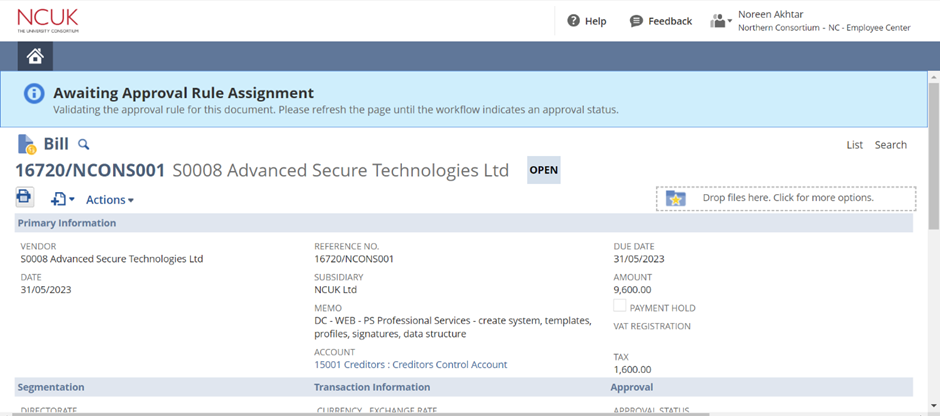
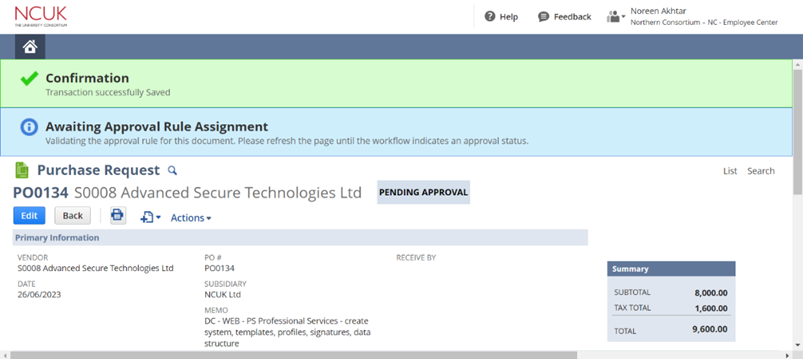
- Click on ‘Save’ and you will be taken to this confirmation screen below.
- The Purchase Order now needs to be approved (by Frank/Ronan).
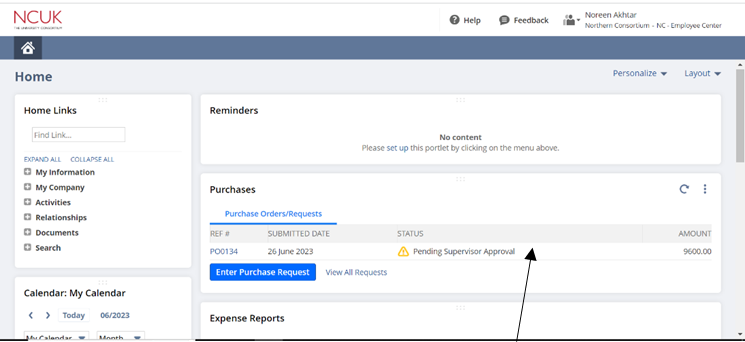
- All pending requests will show on the Dashboard.
- Once the Purchase Order has been approved, you need to approve the invoice. To do so, go to the main dashboard, and select the approved Purchase Order Request, and click on ‘Related Records’.
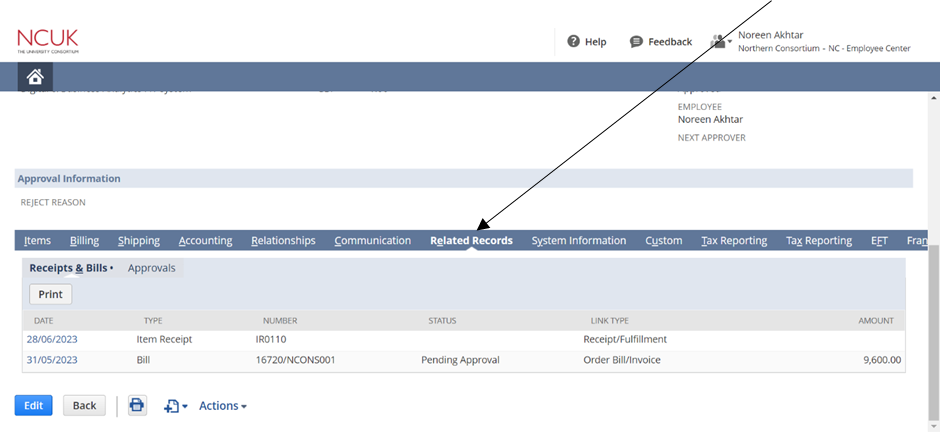
- Click on the PO date to open. There will be a button near ‘Actions’ labelled ‘Accept’. Click on this button to complete the approval process.